
Cherry Blossom Gets Beautiful for Fall (Free Downloadable Pieces)
Before going any further, please note that this article is intended for those who already own the Cherry Blossom pattern and wish to download the pieces offered in the new, enhanced version of the pattern for free.

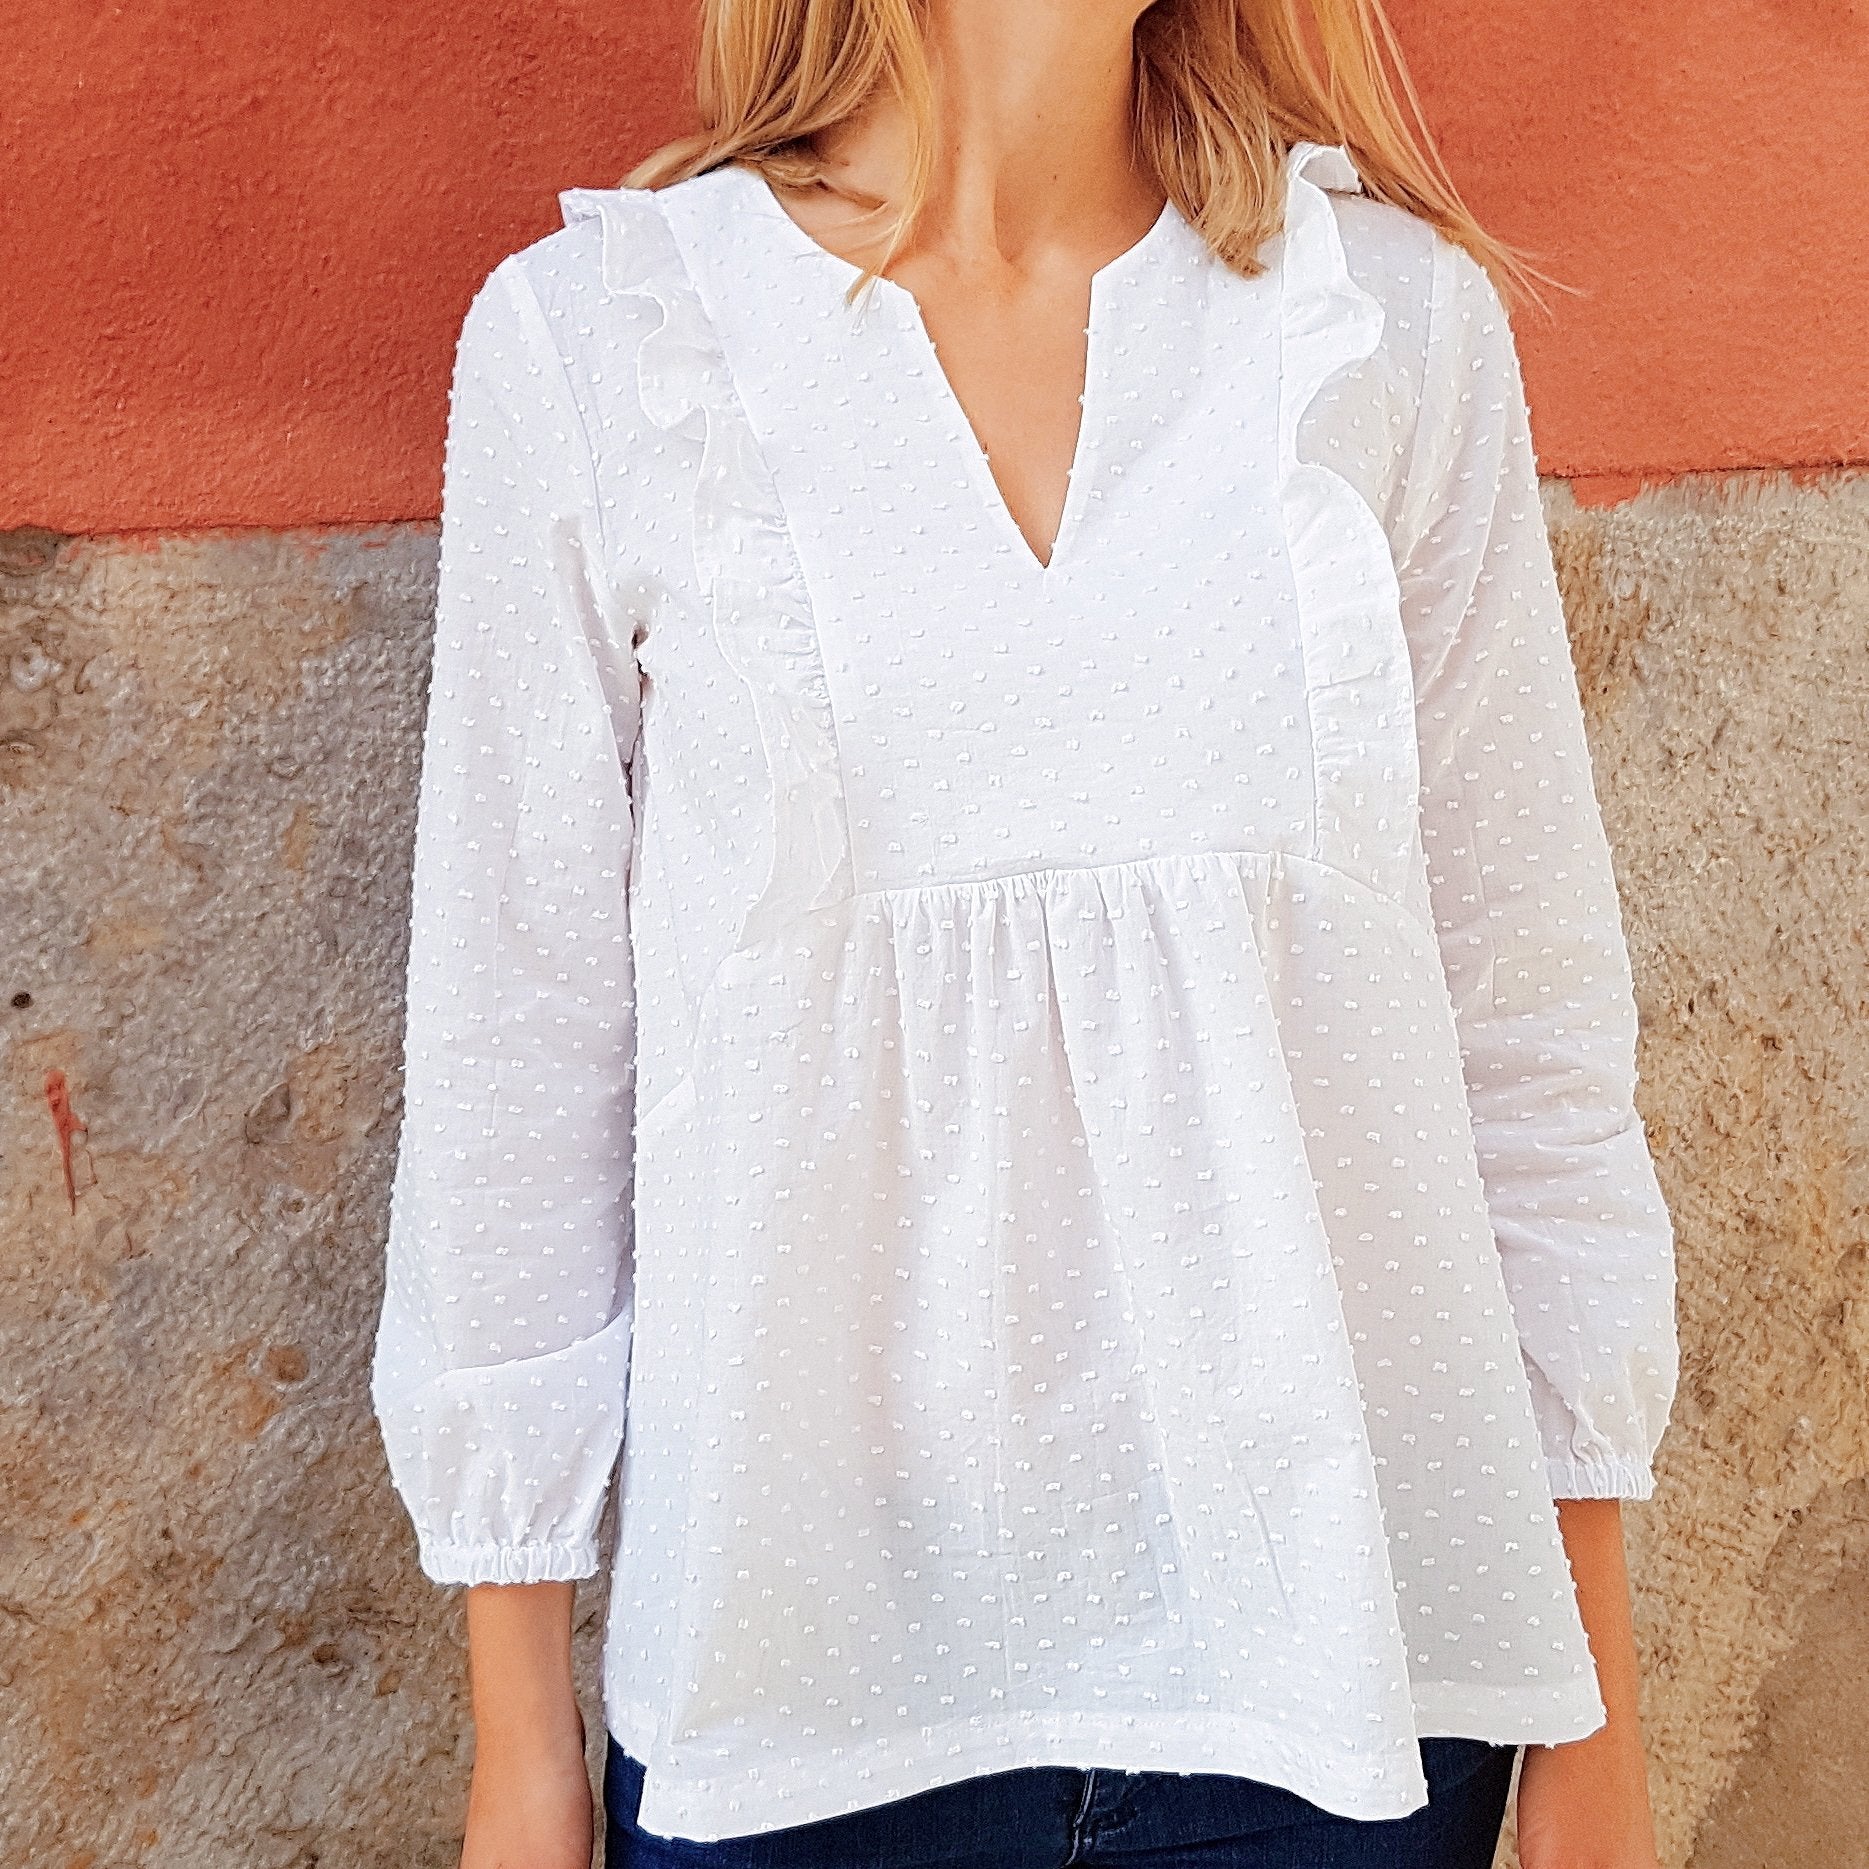
We announced it to you on our Instagram page, Cherry Blossom has gone into fall/winter mode with new 3/4 sleeves and two pretty gathered ruffles to frame the neckline and back. Another new feature is that we added some gathers to the back of the blouse. We'll explain everything in detail in the rest of the article!
But first, Here is the link to download the sleeves and ruffles (print all the A4 pages at actual size or 100% and tape them together using the markings):
TUTORIAL N°1: MAKING AND ASSEMBLING THE STEERING WHEELS

- Pin pieces 8 and 9 together right side to right side by the short side corresponding to the shoulder seam. Sew at 1 cm. Overcast the seam allowances separately and flatten them with an iron. You will have two ruffles. On each ruffle, mark with an iron two successive folds of 5 mm on the longer side to form a hem. Sew the hem 3 mm from the edge. Adjust your stitch (maximum length, minimum tension), then sew two rows of parallel threads without stopping stitches along the entire length opposite the hem, the first 5 mm from the edge, the second 1 cm from the first. Then pull on the two bobbin threads to form the gathers.
- Pin a first ruffle against the corresponding outer front (wrong side of the ruffle against right side of the outer front). Distribute the gathers. Make a holding seam at 5 mm. Pin the "ruffle + outer front" piece with the central yoke right side against right side. Make sure to take all the layers of fabric together and to match the notches and the shoulder seams. Stitch at 1 cm, overlock the seam allowances and iron them towards the side of the blouse. Also iron the ruffle towards the side. Repeat the operation for the second ruffle.
TUTORIAL N°2: BACK GATHERING

On the first version of Cherry Blossom, only the center front was gathered. For this version 2.0 we wanted to add some gathers at the center back. This is completely optional, but if you want to add them, you will just have to increase the width of the back basque by multiplying the horizontal line at the top of the basque (line from the center back to the notch) by 1.4. You will then have to sew two parallel gathering threads and gather the area before assembling it to the back right sides together.
TUTORIAL N°3: MAKING 3/4 SLEEVES

On the first version of Cherry Blossom, the length of the sleeves, just above the elbow, was designed for spring.
The new piece will allow you to make both shorter sleeves (piece 7.a) and elasticated 3/4 sleeves (piece 7.b) , perfect for fall and why not winter if you use a slightly heavier fabric like a cotton jacquard .
To make the elasticated 3/4 sleeves, measure your forearm at its widest point (about 15 cm above the wrist) and add 1 cm. Use this measurement to cut 2 pieces of elastic 1 cm wide. Once your sleeves are closed and sewn to the body of the garment, make a first 1 cm fold at the bottom of one sleeve, mark it with an iron, then make a second 1.5 cm fold. Sew, leaving an opening of a few centimeters. Insert the elastic with a safety pin. Sew the two ends of the elastic with a few stitches by hand. Close the opening. Repeat the operation with the second sleeve.
And there you have it, all the info you need to make a pretty Cherry Blossom blouse for fall!

Happy sewing and see you soon on the blog!
Marie and Margot

Comments