
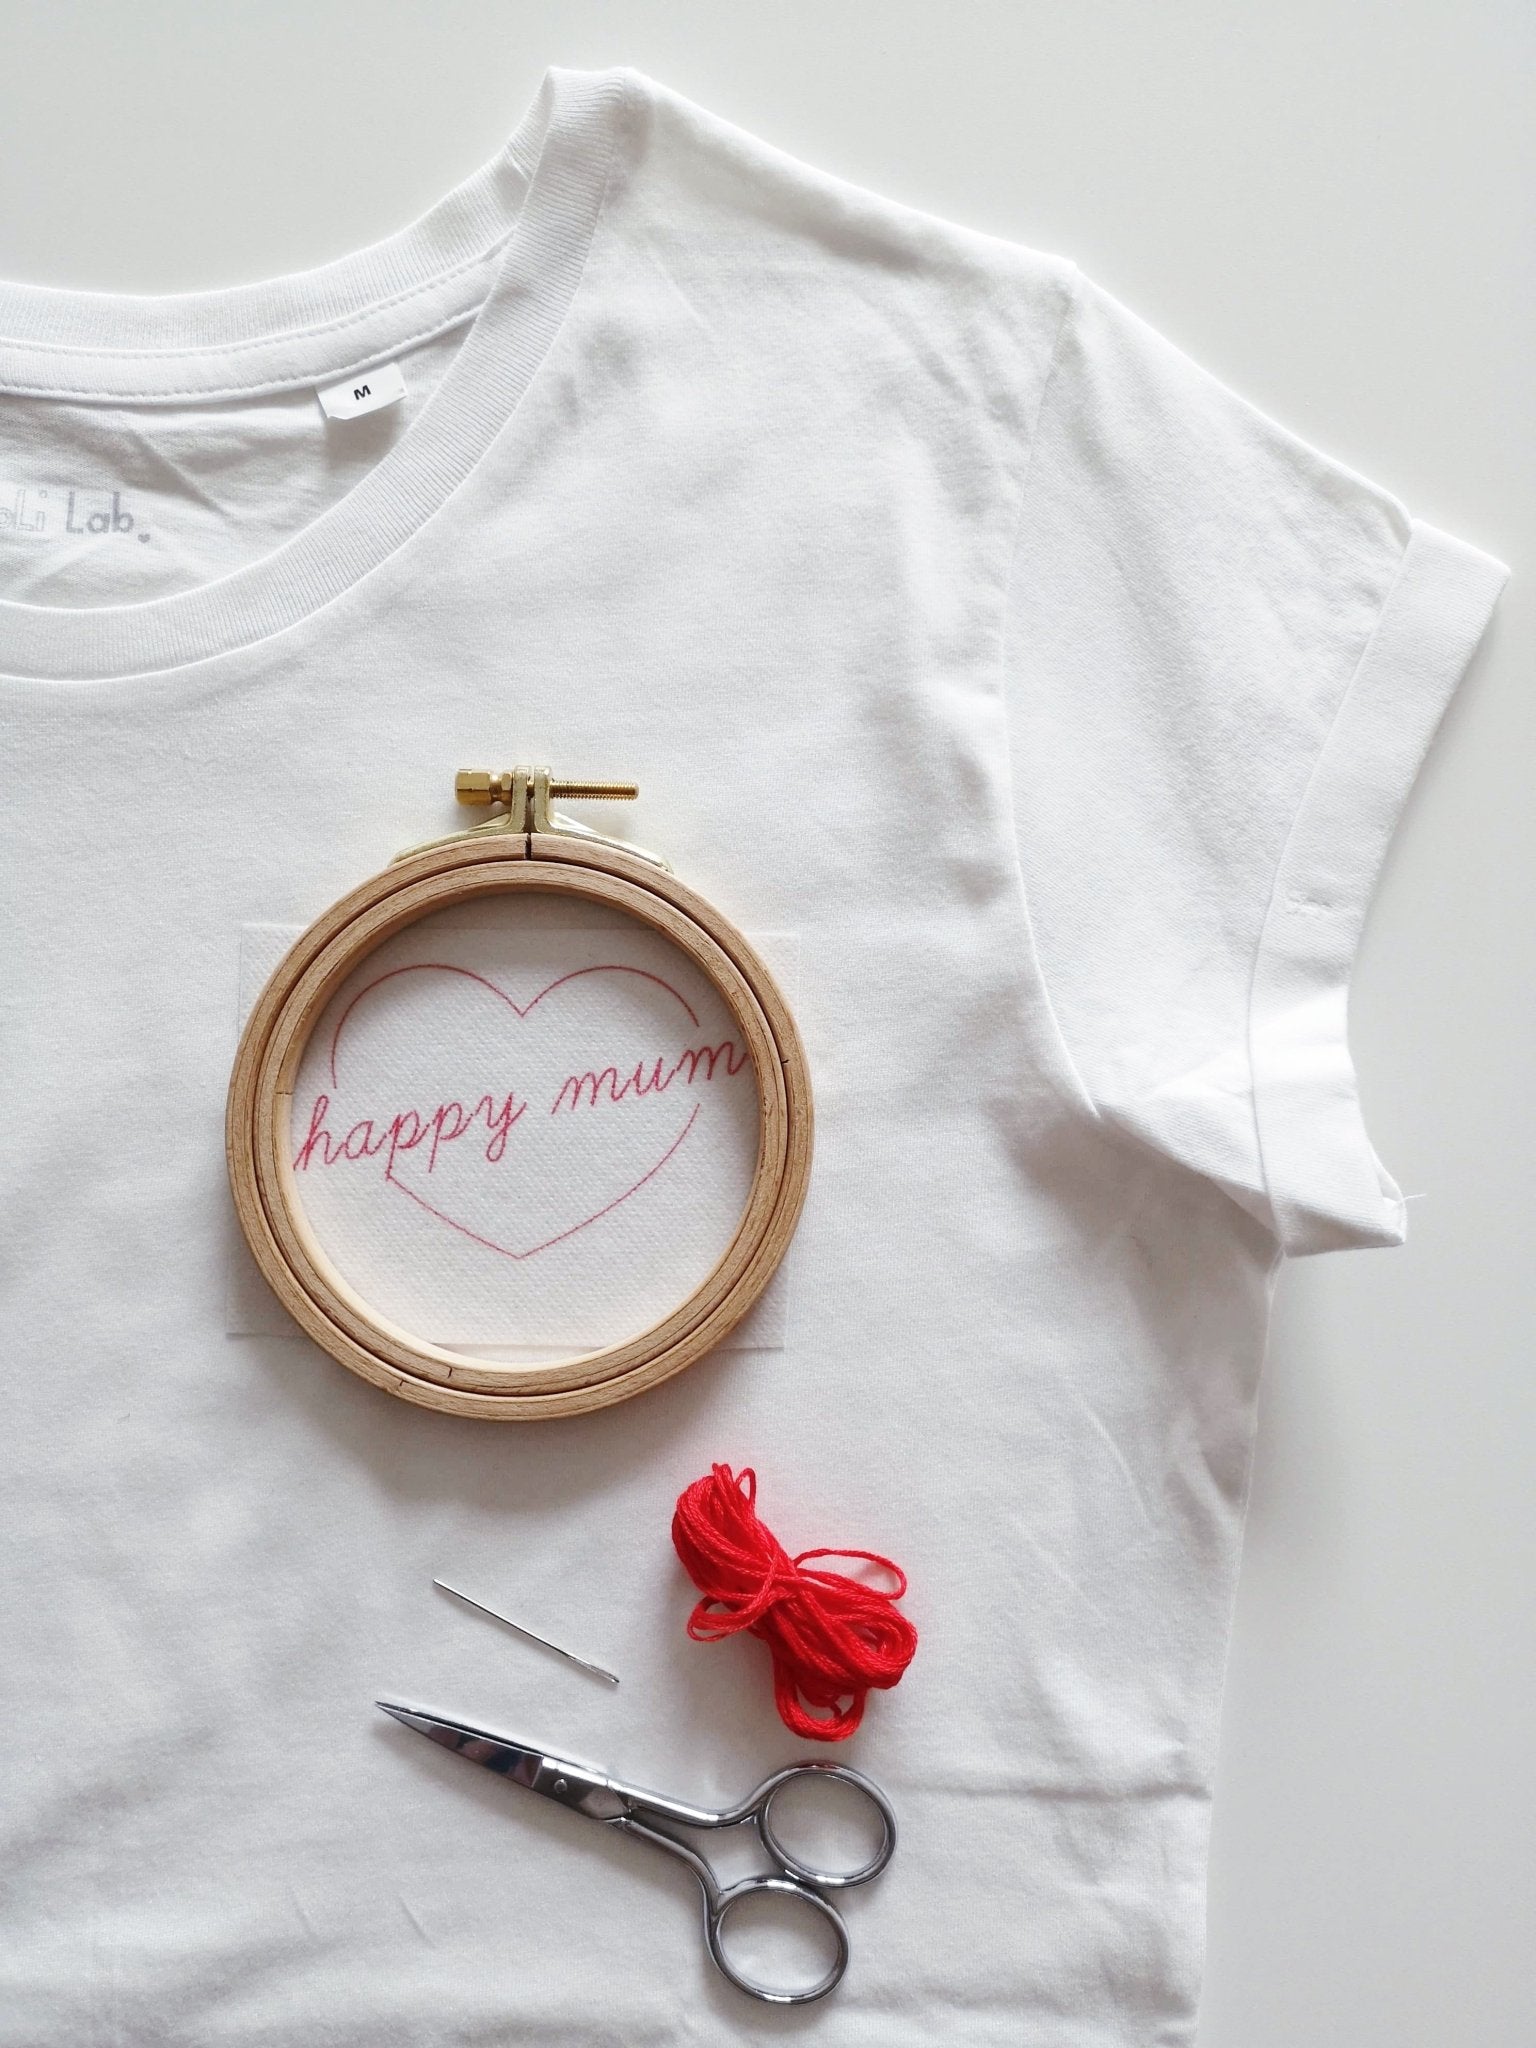
Embroidery tutorial: “HAPPY MUM” or “GIRL POWER” (designs provided)
Ultra-trendy on Instagram and Pinterest, embroidery is a quick and easy way to personalize your creations and make them 100% unique .

In this article, we offer you an embroidery tutorial accessible to beginners. We have chosen a simple pattern and an easy stitch to make. No need to be an embroidery pro.
And since there is nothing better than a " HAPPY MUM " or " GIRL POWER " to motivate us every day, we offer you these two pretty designs.
You can download the printable patterns by clicking on the link later in the article.


The material
You will first have to choose a support for your embroidery. You can very well take a t-shirt or a sweatshirt ( our Goji sweatshirt for example ). We just advise you to avoid jerseys that are too thin and to use an embroidery hoop. If you are a seamstress, the pattern will also be very pretty embroidered on a hand-sewn kit.
Once you have chosen your support, you will need to provide yourself with:
- of a drum
- of a piece of solubix or any other water-soluble film (you transfer the embroidery pattern onto the film which you stick to the area to be embroidered. Once the work is finished, the film can simply be removed with cold water).
- of an embroidery needle
- embroidery thread in the color of your choice (ideally DMC stranded)
Tutorial to make your embroidery
Step 1: Print both patterns free download (print to scale or 100%):
CLICK HERE TO PRINT THE PATTERN
Step 2: Take your support and the necessary materials for embroidery :
- Transfer one of the two patterns transparently onto a water-soluble film such as Solufix using a Frixion pen (heat erasable) or a fine water-erasable felt-tip pen (it is also possible to print it on an inkjet printer).

- Place the water-soluble film on the fabric, then place the fabric in a drum, pull the edges lightly so that it is taut and off you go!
- Take a strand of embroidery thread of about 1m and fold it in two. Insert the two ends of the strand into the eye of your needle. Start at the top of the heart*. Start your work by passing your needle from the wrong side to the right side at the left end of the pattern (or the right end if this direction seems more intuitive to you). Stitch again and make a knot on the wrong side using the loop formed by the two folded strands (see diagram). * The patterns are broken down into 4 zones (top of the heart, bottom of the heart, first word, second word). At the end of each zone, stop your thread by making a knot on the wrong side or by passing the thread 3 to 4 times under the last stitches, always on the wrong side (see the overlocked backstitch technique explained in the next step).

- Embroider your design with a backstitch . This stitch is ideal for text and is easy to do and produces clean curves and lines. It is done in two steps:
-
Embroider a first area with back stitch. Use the following diagram to visualize the technique.

-
Once this first area is embroidered, overlock it. Start from the wrong side of the support. Bring your needle out under the last stitch you embroidered, towards its middle. Then slide your needle under each stitch from top to bottom, without stitching the support (staying on the right side).

- Once your embroidery is finished, pass your support under water until the water-soluble film is completely dissolved and let it dry. That's it, you can proudly wear your creation!


Marie and Margot
Comments